Brake Bleeding - The Easy Way
Bleeding brakes can be a real pain. You can spend lots of time only to end up with mushy brakes from leftover
air bubbles, and have a big mess to clean too. We at desertmx.com don’t believe in doing anything the hard way when
there is an easier way.
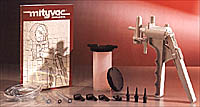
| The first thing I tried, with limited success, was a $30 brake bleeder,
Mity-vac or something like that. It seems like it should work well, all you do is hook it up
to the bleed bolt and suck out the old fluid. In reality, it didn’t work so
well. I still had to keep tightening and loosening the bleed bolt, the
tube kept popping off the bleeder, and if I set it down the vac would
ingest fluid – maybe this could be made to work, bit for my $30 it was a
disappointment and a waste.
Apparently some people have had success with it, as I found several pages dealing with this tool:
http://www.xs11.com/tips/maintenance/maint6.shtml
http://www.bmwmoc.org/gallery/BrakeClinic99/Brakes.htm
|
 |
|
The "Sucky" Mity-Vac |
|
So, with $30 down the drain and the aggravation the
Mity-Vac had created, I made a visit to the workshop
refrigerator to contemplate this "bleeding
of the brakes". 12 ounces (or so) later I had regained my thoughts and
questioned... If the best things in life are free, perhaps the best
solutions to problems such as brake bleeding are free too?
I recalled hearing something about using tubing with a loop in it to easily
bleed brakes, so set out to try for myself …
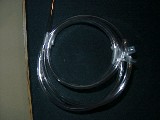
I had just purchased some ¼ inch inside diameter clear tubing for my gas
line, and had a bunch left over. Also present in my workshop was some
electrical tape, an empty bottle of water, and small hose clamp.
 |
 |
|
 |
| The clear tubing |
Electrical tape |
Water bottle |
Small hose clamp |
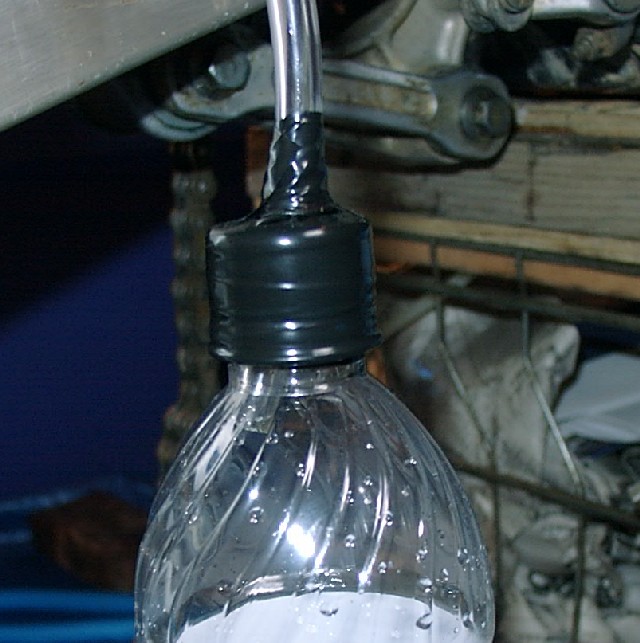 |
Securely fasten tube to bottle
Start off by taping the tube securely to the water bottle using
the electrical tape, or duct tape would work nicely! |
The all important loop
The expertly crafted loop once again held together with electrical
tape. Don't forget about the small hose clamp. |
|
 |
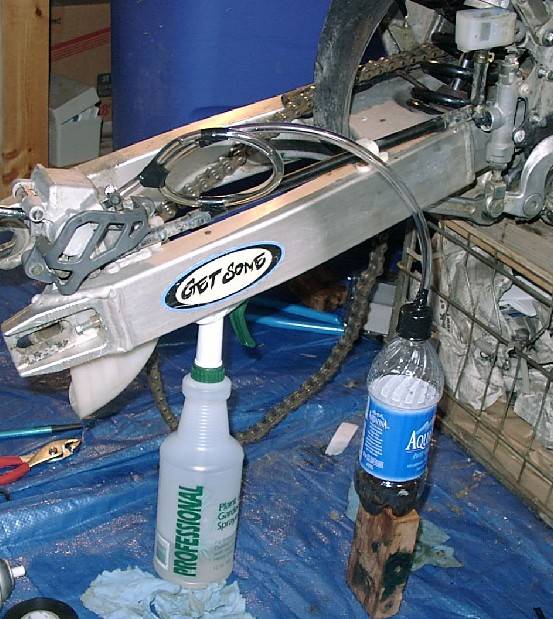 |
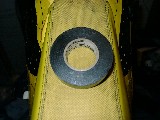
For the Rear Brake
Ok, you don't have to remove the rear wheel to bleed the brakes, but
since the bike was already torn down for other maintenance it was a good
time to bleed the brakes. Notice in the picture the hose attached to the
brake bleed bolt with the expertly designed loop held in place with the
electrical tape. Also make notice of the wood block used to securely hold
the water bottle. Perhaps the most important thing to notice is the top of
the loop is above the level of the bleed bolt and the bottom of the loop
is below. Also be certain the end of the tube and container is below the
level of the bleed bolt.
|
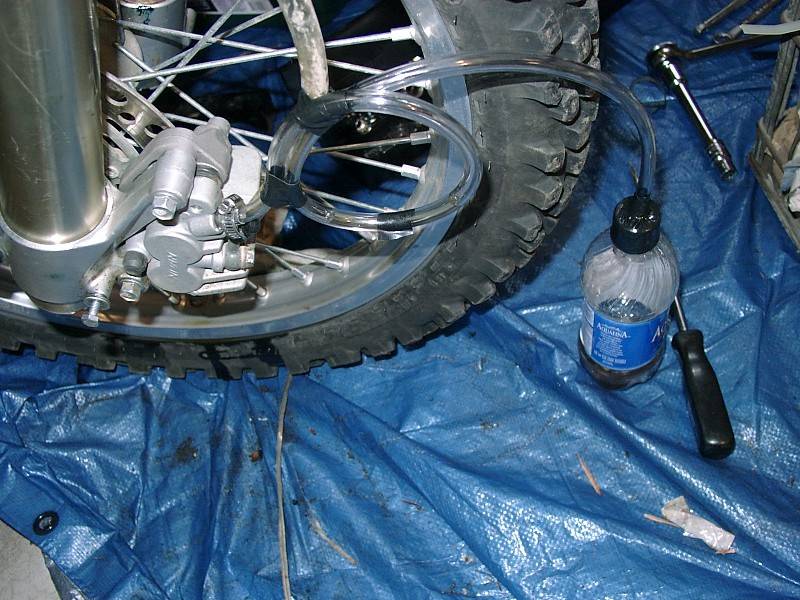
For the Front Brake
Again notice the positioning of the loop and reservoir container.
It is difficult to tell but make certain that the same rules used
for the rear brakes apply for the correct positioning of the tube
and container. |
 |
|
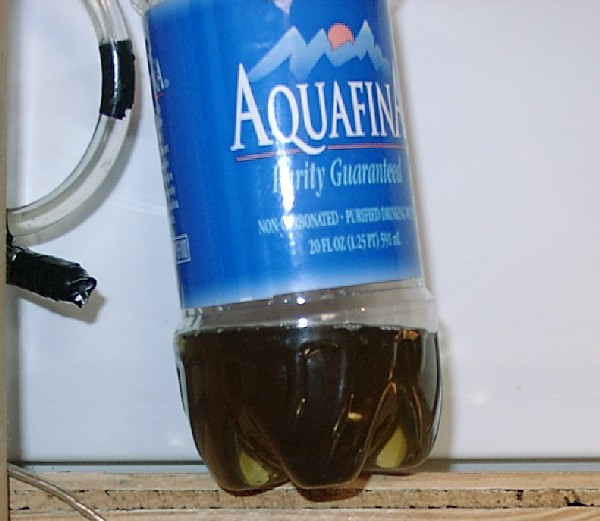
| Getting the Job Done
Now to actually bleed the brakes all you will need to do
is open up the bleeder valve, continue to pump the brake lever until all
the old fluid is drained out into the waste container and all that is
coming out is clear, then finish it up
by closing the bleeder valve and topping off the brake reservoir. You
should end up with clear fluid in the brakes and the nasty stuff in the
bottle. Of course pay no attention to the label on the bottle as
"purity" is no longer guaranteed!
|
 |
Back to Desertmx maintenance